
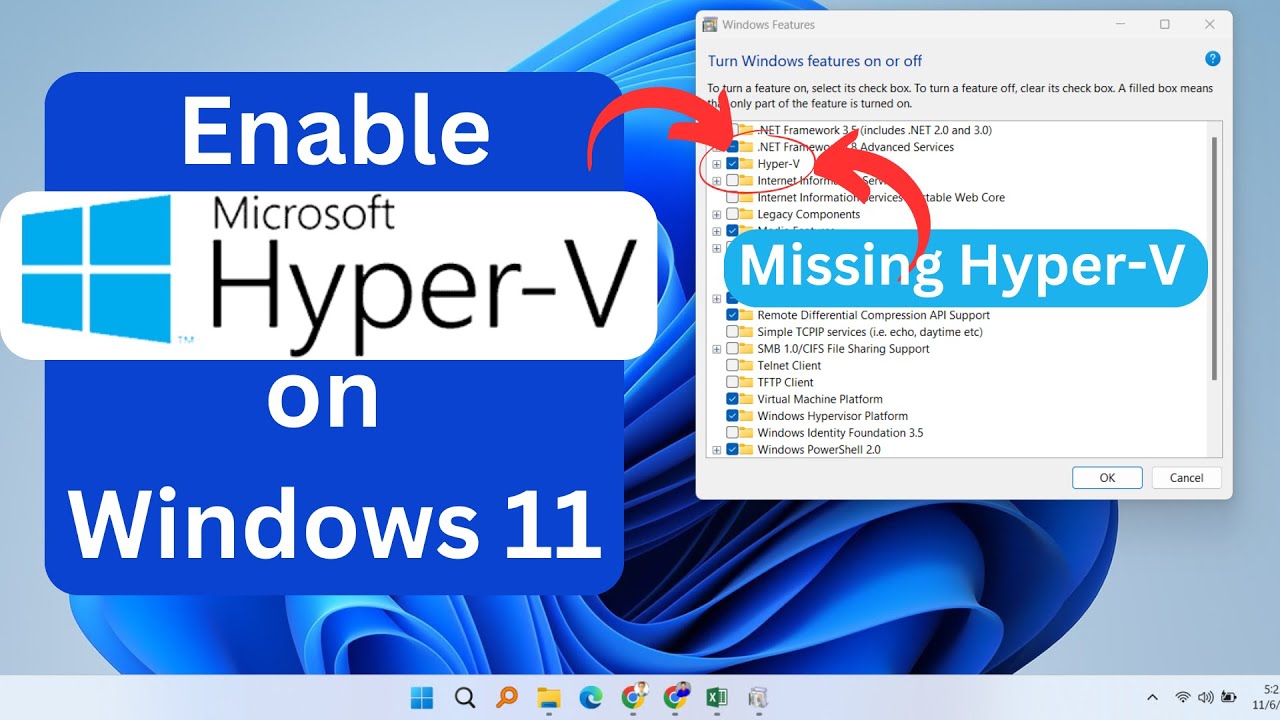
Hyper-V is Microsoft’s virtualization technology, allowing users to run multiple virtual machines on a single physical PC. It’s a powerful tool for developers, IT professionals, and tech enthusiasts who want to test software, run different operating systems, or create isolated environments. However, by default, Hyper-V is not available on Windows 11 Home edition. This article explains how to enable Hyper-V on Windows 11 Home using reliable methods, with step-by-step instructions and troubleshooting tips.
What is Hyper-V and Why Is It Important?
Hyper-V enables virtualization, which means running multiple operating systems or virtual machines (VMs) on the same hardware. It allows you to:
- Test applications on different OS versions.
- Run Linux, older Windows versions, or other OSes without dual-booting.
- Create isolated sandboxes for development or security purposes.
- Simulate network environments for learning or testing.
Windows 11 Pro and Enterprise editions come with native Hyper-V support, but Home edition lacks this feature out of the box.
Can You Enable Hyper-V on Windows 11 Home?
Officially, Hyper-V is disabled on Windows 11 Home and cannot be enabled through the normal Windows Features dialog. However, there are workarounds to install Hyper-V on Home edition, but these involve manual script changes or upgrading to Windows 11 Pro.
Shopping ad

- Instantly productive. Simpler, more intuitive UI and effortless navigation. New features like snap layouts help you manage multiple tasks with ease.
- Smarter collaboration. Have effective online meetings. Share content and mute/unmute right from the taskbar (1) Stay focused with intelligent noise cancelling and background blur.(2)
- Reassuringly consistent. Have confidence that your applications will work. Familiar deployment and update tools. Accelerate adoption with expanded deployment policies.
- Powerful security. Safeguard data and access anywhere with hardware-based isolation, encryption, and malware protection built in.
In this article, I will cover:
- Confirming hardware support for virtualization.
- Methods to enable Hyper-V on Windows 11 Home using scripts.
- Alternative virtualization solutions.
- How to upgrade to Windows 11 Pro if needed.
Step 1: Check Hardware and Windows Compatibility
Before attempting to enable Hyper-V, ensure your system supports virtualization:
- Check CPU Virtualization Support:
- Open Task Manager (Ctrl + Shift + Esc).
- Go to the Performance tab.
- Select CPU and check if Virtualization says Enabled.
- Enable Virtualization in BIOS/UEFI (if disabled):
- Restart your PC and enter BIOS/UEFI settings (usually by pressing Delete, F2, or F10 during startup).
- Look for settings labeled Intel VT-x, AMD-V, or SVM.
- Enable virtualization and save changes.
- Check Windows Version:
- Press Win + R, type winver, and press Enter.
- Confirm you are running Windows 11 Home edition.
Step 2: Understand Official Hyper-V Availability on Windows 11 Home
Shopping ad

- STREAMLIMED AND INTUITIVE UI | Intelligent desktop | Personalize your experience for simpler efficiency | Powerful security built-in and enabled.
- JOIN YOUR BUSINESS OR SCHOOL DOMAIN for easy access to network files, servers, and printers.
- OEM IS TO BE INSTALLED ON A NEW PC WITH NO PRIOR VERSION of Windows installed and cannot be transferred to another machine.
- OEM DOES NOT PROVIDE PRODUCT SUPPORT | To acquire product with Microsoft support, obtain the full packaged “Retail” version.
- Windows 11 Home does not include Hyper-V Manager or Hyper-V services by default.
- Enabling Hyper-V on Home requires enabling Windows features that are disabled by Microsoft on this edition.
- The most practical method is to run a script that enables Hyper-V-related features, but success varies by system.
Step 3: Enable Hyper-V on Windows 11 Home Using Script
This is a popular method among tech enthusiasts, but it is unofficial and should be done carefully.
Windows Errors? Fix Them Before They Spread
Repair common Windows errors and clear accumulated junk for a smoother, more stable PC - no reinstall needed.Free scan · no reinstallCrashes, No Sound, or Screen Glitches?
Random freezes, missing sound and display glitches usually trace back to one bad driver. Find and replace yours safely.Free scan · under a minuteShopping ad
![Windows 11 Pro Activation Key [Internet Required For Downloading] Email Delivery in 2 Hours (Check Buyer/Seller Message after purchase send me a messge )](https://m.media-amazon.com/images/I/41rsFJDt29L._SL160_.jpg)
- Only key code sent by amazon messages if you need help creating your boot device we can help
- money back gurrentee 100% money back
- 24/7 delivery and support The product is for the life time of your OS
- Seller and Tech with high Reviews
- USB or BOX not included only messges With key Code sent by amazon messges by mail youll get a thank you letter with thanks you note and our email for support
Instructions:
- Open Notepad and paste the following script:
powershell
Copy
dism.exe /online /enable-feature /featurename:Microsoft-Hyper-V-All /All /LimitAccess /Quiet
- Save the file as Enable-HyperV.cmd on your Desktop.
- Right-click the saved file and select Run as administrator.
- The command will run silently. After completion, restart your PC.
- After reboot, press Win + R, type optionalfeatures.exe, and press Enter.
- In the Windows Features window, check if Hyper-V and related options are enabled.
- If present, launch Hyper-V Manager by searching for it in the Start menu.
What This Script Does:
- It uses the Deployment Image Servicing and Management (DISM) tool to enable Hyper-V features.
- The /All flag enables all sub-features of Hyper-V.
- /LimitAccess prevents DISM from contacting Windows Update.
- /Quiet runs the command without prompts.
Step 4: Troubleshooting and Alternative Solutions
- If Hyper-V features do not show up, your system might restrict enabling these features on Home edition.
- In this case, consider upgrading to Windows 11 Pro for full Hyper-V support.
- Alternatively, use virtualization software like Oracle VirtualBox or VMware Workstation Player, which work on Windows Home without restrictions.
- Make sure virtualization is enabled in BIOS, as Hyper-V won’t work otherwise.
- Running the script as administrator is mandatory.
- Ensure Windows is up to date by running Settings > Windows Update.
Step 5: Upgrade to Windows 11 Pro (Recommended for Stable Hyper-V)
Shopping ad

- WINDOWS 11 PRO FOR WORKSTATIONS is for people with advanced needs such as data scientists, CAD professionals, researchers, media production teams, graphic designers, and animators.
- WINDOWS 11 PRO FOR WORKSTATIONS helps power through advanced workloads while providing server-grade data protection and performance, and includes all the features of Windows 11 Pro | Users will benefit from greater speed with faster processing and file transfers, greater resilience with server-grade storage, and the full power of high-performance hardware configurations.
- OEM IS TO BE INSTALLED ON A NEW PC with no prior version of Windows installed and cannot be transferred to another machine | Windows 11 Pro for Workstations is required licensing for systems with Intel Xeon or AMD Opteron processors.
- OEM DOES NOT PROVIDE SUPPORT | To acquire product with Microsoft support, obtain the full packaged “Retail” version.
If you need stable and full Hyper-V support, upgrading is the best option.
How to Upgrade:
- Open Settings > System > Activation.
- Click Open Store next to “Upgrade your edition of Windows”.
- Purchase and install the Windows 11 Pro upgrade.
- After upgrade, Hyper-V features become available.
- Enable Hyper-V via Turn Windows features on or off in Control Panel.
Personal Experience and Recommendations
I’ve tested enabling Hyper-V on Windows 11 Home using the DISM script method on multiple machines. On some PCs, the feature enables successfully, but on others, it fails due to Microsoft restrictions or hardware incompatibility. For a professional or long-term setup, upgrading to Windows 11 Pro is safer.
The Tool Desk
Outbyte PC Repair FREEClear out junk files and repair common Windows errorsFree Scan →Outbyte Driver Updater FREEFix the driver behind crashes, sound loss and screen glitchesFind Drivers →Shopping ad

- MICROSOFT WINDOWS 11 PRO (INGLES) FPP 64-BIT ENG INTL USB FLASH DRIVE
If your work involves frequent use of virtual machines, the upgrade pays off in stability and official support. For occasional virtualization needs, tools like VirtualBox work well on Windows 11 Home.
Additional Tips
- Always backup important data before modifying system features.
- Ensure Windows is fully updated before trying to enable Hyper-V.
- After enabling, use Hyper-V Manager to create and manage virtual machines.
- Use PowerShell commands like Get-WindowsOptionalFeature -Online to check enabled features.
Conclusion
While Hyper-V is not officially available on Windows 11 Home, the DISM script method offers a potential workaround. However, it may not work reliably across all systems. For guaranteed Hyper-V access, upgrading to Windows 11 Pro is recommended.
This guide provides a clear, step-by-step approach to check hardware compatibility, enable Hyper-V features manually, troubleshoot common issues, and consider alternative solutions. Follow the instructions carefully to get virtualization running on your Windows 11 Home PC.
Quick Recap
Product prices and availability are accurate as of the date/time indicated and are subject to change. Any price and availability information displayed on Amazon at the time of purchase will apply.

